How To Protect Your Driveway from Dumpster Damage
A step-by-step guide to protecting your driveway.
Don't let driveway damage become a costly oversight on your next project. While many customers focus on scheduling and logistics, proper driveway protection can prevent thousands of dollars in unnecessary repairs.
1
Assess Your Driveway
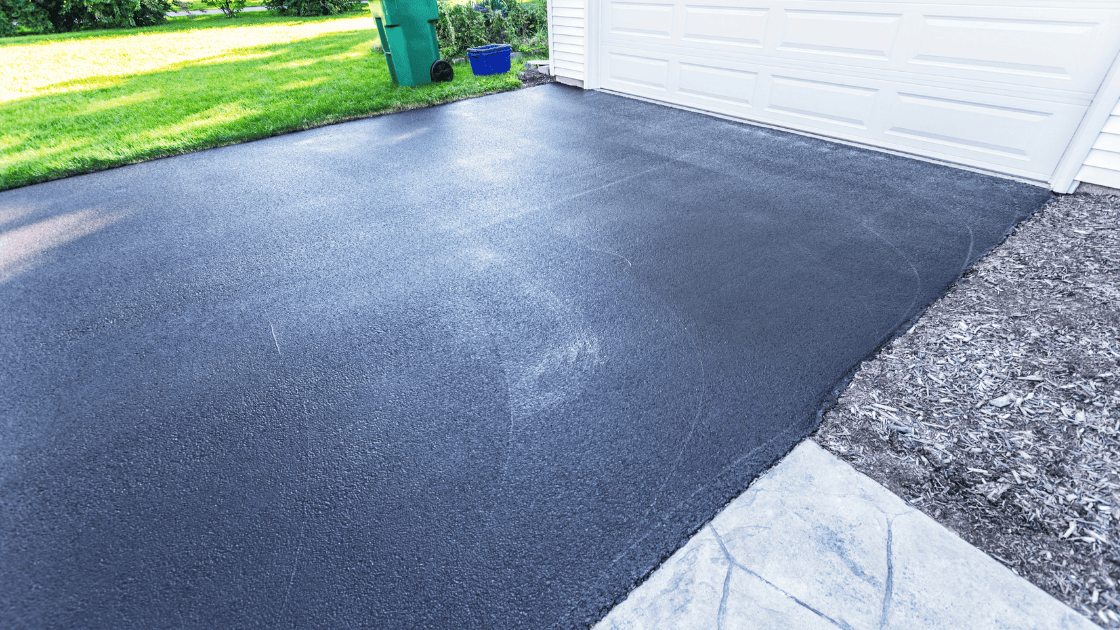
If you plan on placing your dumpster in the driveway, know that certain materials handle pressure differently under varying circumstances. Driveways made of concrete or asphalt are prone to cracking, and even with added protection, there's still a chance the dumpster could cause damage.
- Concrete: Cracks under heavy, uneven weight.
- Asphalt: Dents or warps, especially in heat.
- Pavers: Shifts or sinks if not supported.
- Gravel: Ruts form under pressure.
Seasonal Considerations for Driveway Protection
Weather also plays a role in driveway vulnerability. Hotter temperatures in the summer tend to soften asphalt, making it more susceptible to dents and permanent marking. During winter, frozen ground may initially seem more resistant, but the freeze-thaw cycle can exacerbate damage once temperatures fluctuate. Spring's moisture and saturation weakens support, while fall's leaf debris might hide existing cracks that could worsen under pressure.
Before scheduling your rental, check the weather forecast and plan accordingly:
- Summer: Schedule deliveries during cooler morning hours.
- Winter: Dents or warps, especially in heat.
- Fall: Ensure proper drainage away from the placement area.
- Spring: Remove all debris and inspect for hidden damage.
2
Pre-Rental
Preparing your driveway before the dumpster is delivered can help save you time and money. Many customers are shocked at how big the dumpsters are when they arrive on site. If you've requested driveway placement, be sure to measure to ensure ample space for the dumpster and the truck. Additionally you should:
- Inspect your driveway and check for any cracks or weak spots.
- Take photos and document the "before" condition.
- Measure the driveway and call the rental company for exact dimensions.
- Move cars and clear any debris or obstacles.
Tip: Most roll-off dumpsters need at least 18 feet of overhead clearance and 30-40 feet of ground clearance for delivery.
Precise Measurement Guide for Common Dumpster Sizes
When planning for dumpster delivery and placement, it's essential to know the actual dimensions and the clearance required. The following measurements are based on averages from the most common dumpster sizes.
| Dumpster Size | Typical Length | Typical Width | Typical Height | Recommended Protection Area* | Minimum Clearance Needed** |
|---|---|---|---|---|---|
| 10 yard | 10 ft | 8 ft | 4.5 ft | 12 ft x 10 ft | 45-50 ft (delivery truck) |
| 20 yard | 20 ft | 8 ft | 4.5 ft | 22 ft x 10 ft | 45-50 ft |
| 30 yard | 20 ft | 8 ft | 6 ft | 22 ft x 10 ft | 50-60 ft |
| 40 yard | 22 ft | 8 ft | 8 ft | 24 ft x 10 ft | 55-60 ft |
Minimum Clearance Needed
- Delivery trucks require straight-line clearance in front of the drop-off location to safely maneuver and unload the dumpster.
- Most roll-off trucks need 50-60 feet of clearance in front of the placement area and at least 20-25 feet of vertical clearance (for raising the dumpster bed).
3
Protect It During Delivery
Most companies do not require you to be on site during delivery. However, if you want to ensure proper placement on your protective coverage, being on site is a good idea.
- Lay down protection. Use plywood, mats, or both (details below).
- Guide the driver so the dumpster is centered on your protection.
- Confirm all contact points with the surface are covered.
Delivery Systems
The delivery method significantly affects potential driveway damage. The two primary delivery systems are:
- Roll-off system: The truck backs up to your designated spot and literally rolls the dumpster off the back wheels. This can create friction and potentially scratch or damage your driveway's surface.
- Hook-lift system: The truck uses a hydraulic arm to place the dumpster more precisely. Although slightly gentler on the surface, it still exerts substantial pressure.
Tip: When booking your rental, ask which delivery system the trucks use and adjust the protection you use accordingly. Roll-off systems require more extensive protective coverage, especially at the point where the dumpster first contacts your driveway.
4
Distribute The Load
Once your dumpster is on site, you can take extra steps to help ensure the weight is equally distributed - preventing any uneven weight from being distributed to any one corner. Example: if you've got a ton of dirt, spread it evenly so one side doesn't have all the weight.
Weight Distribution Best Practices
Proper loading prevents pressure points that cause driveway damage:
- Distribute Weight Evenly: Always spread heavy items evenly across the bottom of the dumpster to prevent tipping and ensure safe transport.
- Start with Heavy Items: Place the heaviest and bulkiest debris at the base to create a stable foundation.
- Layer Horizontally: Build up in flat, horizontal layers rather than vertical piles to maximize space and maintain stability.
- Fill Gaps: Use smaller items to fill spaces around larger ones, which helps maintain balance and prevents shifting during transport.
- Avoid Overloading One Side: Do not pile debris in one section; keep the load balanced throughout the dumpster.
Caution: Rain-soaked debris can increase the overall weight dramatically. If rain is in the forecast, consider requesting a tarp from your rental company or covering the dumpster or re-scheduling to a week where weather is less severe.
5
Post-Rental
Once your job is complete and the hauler has picked up your dumpster, do a post-rental spot check on the area where your dumpster was placed. If you notice any damage, be sure to document and share with the hauler.
- Inspect the area and look for damage right away.
- Take additional photos even if there's no visible damage.
- Sweep away dirt, marks, and any other remnant debris.
Driveway Maintenance
After the dumpster is removed, these maintenance steps can help prevent long-term issues:
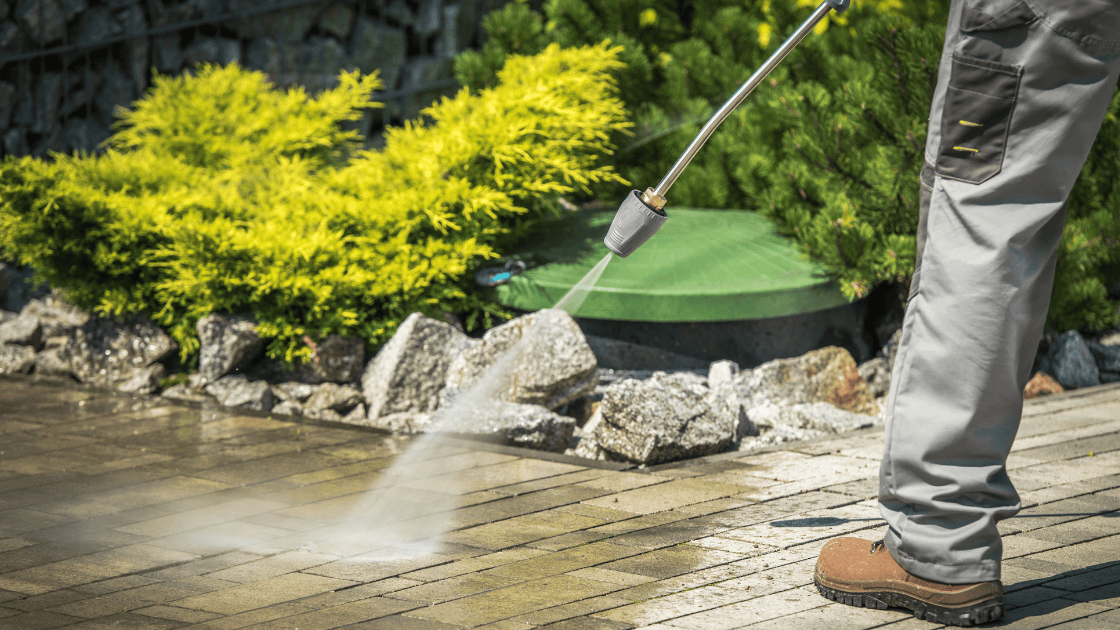
- Pressure washing: Remove any rust stains, leaked fluids, or residue that could stain your driveway.
- Sealant: Consider applying a fresh coat of sealant to areas where the dumpster sat to restore protective layer.
- Cracks: Look for small hairline cracks that could expand to larger problems later.
5
Post-Rental
Once your job is complete and the hauler has picked up your dumpster, do a post-rental spot check on the area where your dumpster was placed. If you notice any damage, be sure to document and share with the hauler.
- Inspect the area and look for damage right away.
- Take additional photos even if there's no visible damage.
- Sweep away dirt, marks, and any other remnant debris.
Driveway Maintenance
After the dumpster is removed, these maintenance steps can help prevent long-term issues:
- Pressure washing: Remove any rust stains, leaked fluids, or residue that could stain your driveway.
- Sealant: Consider applying a fresh coat of sealant to areas where the dumpster sat to restore protective layer.
- Cracks: Look for small hairline cracks that could expand to larger problems later.
Protection Options: What Works
Here are the two best ways to shield your driveway—pick one or combine them:
Plywood
Plywood is relatively inexpensive and a common material used to protect driveway during construction.
- Use 3/4-inch thick sheets: thinner sheets won't withstand the weight.
- Proper size: ideally the plywood should extend 6 inches past the dumpster's edges.
- Secure placement: Use sandbags or bricks to hold the plywood in place.
Commercial Mats
While these are generally more expensive:
- 80-ton ratings for most residential jobs.
- Follow instructions for proper placement.
- Better for larger loads - worth the investment if the dumpster's heavy or staying long.
DIY Composite Protection System
For extra protection (especially nicer premium driveways), consider layering multiple materials:
- Base layer: Heavy-duty plastic sheeting (6-mil minimum)
- Distribution layer: 3/4" plywood sheets
- Cushioning layer: Old carpet or rubber mats
- Contact layer: Commercial dumpster mats or additional plywood
This multi-layer system provides additional protection against both weight and potential leaking or staining.
Smart Placement
- Choose flat solid grounding for dumpster placement.
- Avoid edges of the driveway and cracked areas.
- Make sure you can still load it easily from the rear doors.
Work with the Rental Company
Some companies will offer driveway protection with their rentals as a complimentary service. Inform them you would like to make sure there is no damage from the dumpster and what type of driveway you have (stone, pavers, gravel etc). They may recommend options as well.
Ask upfront:
- "Do you supply protection?"
- "What's your damage policy?"
- "Can your driver help place the dumpster?"
Rental Agreement Tips
Before signing the rental agreement with your hauler, verify these key points:
- Liability clauses: Ensure the contract specifies who is responsible for potential driveway damage.
- Insurance coverage: Confirm whether their business insurance covers property damage.
- Protection options: Make sure the contract in writing covers any protective measures they've promised to provide.
- Weight limits: Know exactly what the maximum weight limit is and penalties for exceeding it - this is the most frequently overlooked restriction.
If Damage Happens
Even with proper planning and preparation, things can go wrong. Local haulers are busy and have multiple jobs per day. If you see there's been damage to your driveway, be sure to quickly document and share with your hauler:
- Take photos of any noticeable damage.
- Call the company and report the damage ASAP.
- Share your "before" pics and protective layerings.
- Fix it yourself or push for their help.